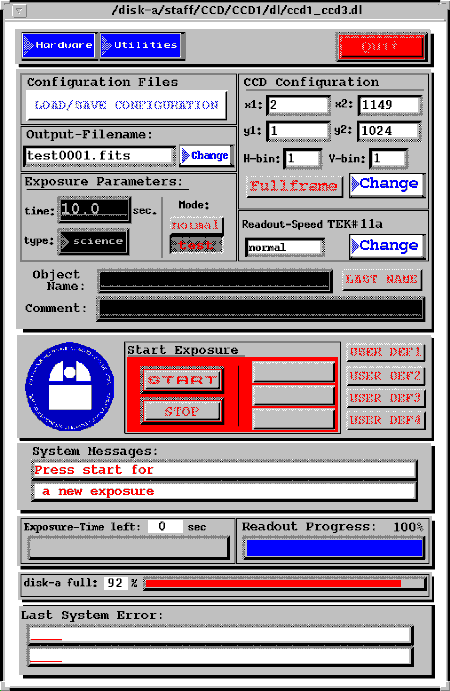
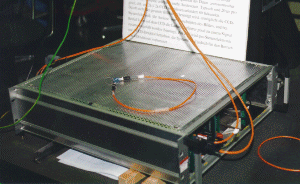
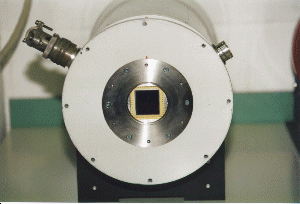
| Press on any button or field to get a detailed description! Short Help is displayed in the Status Line of your browser! | 
|
The GUI is based on an EPICS-Realtime Database. This Database has a refresh rate of 10Hz. It is possible that, if you click too fast, the event won't be realized by the database (especially if the system is very busy).
We used the GUI-Builder of EPICS. This means the best connection and performance to the Realtime-Database with some disadvantages. To avoid some of these disadvantages, we often have to use tcl/TK-Scripts and -GUI's. This is very convenient but has another disadvantage: It takes time to interprete the scripts and to open the Windows. If the System is very busy, it might take up to 2sec.
For easy use, most fields have something in common:
* All Input fields have a black background
* All fields with white background are Information-Fields or Buttons to open submenus.
* You always have to press RETURN after changing values in Input-Fields and you have to leave your mouse-pointer in the Input-Field while changing something (sorry for that, the GUI-Builder is really not as sophisticated as I wished it would be..).
* Menus are marked with a triangle on the left.
* All menus are opened by pressing your right mouse-button.
* Normal push-Buttons have a grey background and red text
* The red push-Buttons labelled "exit" will close popup-Windows
Starting in the upper left corner, you see two pulldown-menus:
 * Camera-Electronic
* Chip-Info
* Dewar-Temp.
Choosing one of the entries will open the following popup-Windows:
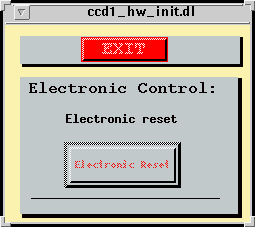 Camera-Electronic
with the button for Electronic Reset. If you get many error-messages like "no serial connection" or "timeout in select" or if you only get noise instead of an CCD-Image, push this button and wait until you get the message in the System Messages lines "Press start for a new exposure". Attention! The following 3 images after the reset may have a slightly higher noise level!
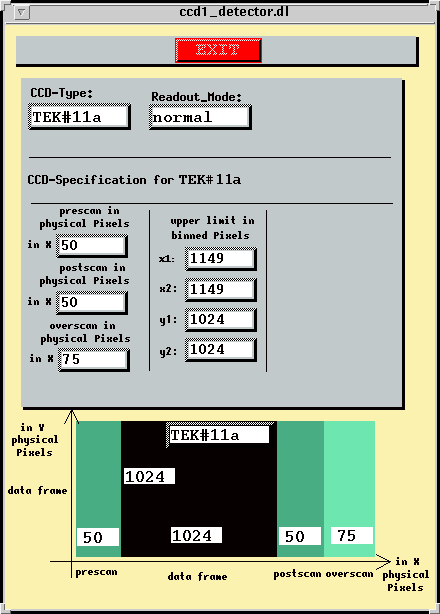 Chip Info
with some detector information like chiptype, overscan, prescan and postscan and upper limits for x and y.
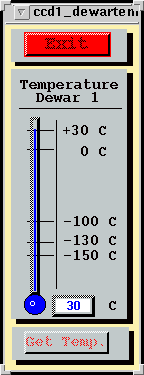 Dewar-Temp.
with the actual Dewar Temperature. Pushing the button "Get Temp." will update the information if possible.
 * Focus Parameters
* Quicklook
* Disk Space
Choosing one of the entries will open the following popup-Windows:
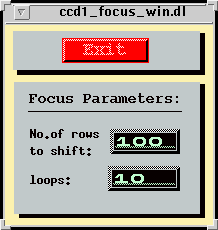 Focus Parameters
with two entry fields: Number of rows to shift during a focus exposure and the number of focus-loops.
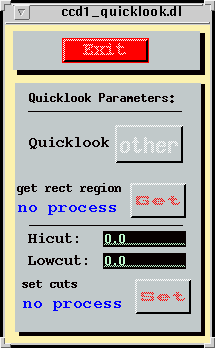 Quicklook
with the toggle-button to switch between saoimage/saotng or
another quicklook-system like midas.
If you push the button, the image will be automatically loaded into saoimage or
saotng if one of these programs is open.
Because of some bugs in saotng, the rest of the gui is out of function at the moment.
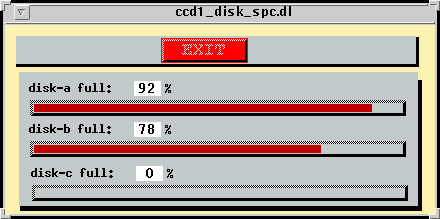 Disk Space
will show the status of disks (full in %).
this button will open a FileSelection-Box. Here, you can load a saved parameter-file by double-click or click & Load, save the actual parameters in a parameter-file (give a Filename and press SaveAs), view the entries of a parameter-file or delete a file.
Special: the 4 files user_def1..4.par are related with the 4 buttons "USER DEF1..4" in the Main-Window. This means, if you save a configuration in one of these files, you can load them by pressing the related button.
 Output-Filename
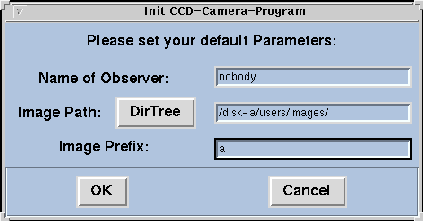
the text-field shows the last Image-Filename (except this is the first exposure or something's gone wrong and the Filename has already been updated). It will be checked and updated when starting an exposure. You can change the prefix, image-path and observer-name by pushing the "Change"-button. The window that will pop up after a little delay is identical with the window "general" in ccd_config (see beginning a session).
Enter the desired exposure time into the entry-field "time". Accuracy is up to 0.1sec. 0 sec is allowed!
Choose (by pressing the right mouse button) the desired exposure-type. The type is also saved as Fits-Keyword and may be important for the archive.
Important are
* dark
* science
* flat
* focus
A dark exposure means, the shutter is kept closed during the whole exposure-time.
A science exposure means, the shutter is open for the desired exposure time.
A flat exposure is the same as a science exposure, only the keyword in the Fits-header will be different.
The focus exposure type is different from the rest (see section on making focus loops).
The toggle-button "Mode" switches the Image-Filename between test0001.fits and the specified Image Filename. The file test0001.fits will always be overwritten and not incremented.
the text-fields show the actual area of interest (in x1/y1 x2/y2) plus the binning information (H-bin means horizontal binning, V-bin vertikal binning faktor).
The push-button "Fullframe" will set the the coordinates of the area of interest to a fullframe image at the selected binning.
If you want to change the x/y-parameters or the binning, push the button "Change".
In the following popup-window you see the text-entry fields for the area of interest (x1/y1 is the lower left corner) and the binning.
Attention! The area of interest is always in binned pixels and is not calculated automatically when changing the binning (reason: it's not possible to change the binning and keep the original area of interest because of electronic hardware limitations).
The text-fields xdata and ydata show the upper limits for x and y. The lower limit for x is 2.
The text-fields readout-speed, sensitivity, noise and duration show some chip-specific data at the selected readout-speed (not yet implemented).
You can change the readout-speed by pushing the button "Change". The following popup-window will be explained later.
With the menu Gain, you can select the amplification at the camera electronics between 5, 20 and 50. Most systems are optimized for Gain 20, which is the default value.
The lower part of the Configuration Window shows some detector information like chiptype, overscan, prescan and postscan in physical pixels.
the text-field shows the selected readout-speed for the specified ccd-detector. If you want to change the readout pattern, you have to push the "Change"-button.
The popup-window displays the sensitivity, noise and duration ( readout time in % from normal ) at the selected readout pattern.(not yet imlemented)
Pushing one of the blue toggle-buttons will change the pattern (it will download another pattern to the camera electronics) to a faster or slower readout pattern. Please wait until you get the message in the System Messages field "Press start for a new exposure".
The push-button "Update" will download the (already) selected pattern to the camera-electronics (i.e. if something at the download had gone wrong).
please enter into this text-entry field the Object Name of your observation. If you selected as exposure-type "science", "dark" or "flat", you have to enter something. This entry gets deleted every time after an exposure. You get the last name back by pushing the button "LAST NAME". The Object Name is saved as Fits-Keyword in the header of the image file.
the text-entry line for Comment is saved twice as Fits-Keyword in the header of the image file, one Comment field at the beginning of the exposure, the other at the end. This means, you can enter comments about clouds etc. during a longtime exposure.
This is the most important button of the GUI. If you push the button
START
an exposure with the actual parameters is started. (Obtaining all the telescope and instrument information as well as reserving disk space for the image-file might take up to 10sec before the real exposure starts.)
During exposures, the remaining exposure time is displayed as bar-graph below the System Messages. If the remaining exposure time is greater 3sec, you can stop the exposure by pressing the STOP button.
This will close the shutter and activate the 3 buttons on the right:
Resume
Read out
Abort
With resume, you re-open the shutter (not during dark-exposures of course, the dark continues integrating, even though you have pushed STOP) and continue with the exposure. The dark-time in the FITS-Header will differ from the exposure-time.
With read out, you terminate the exposure and start immediately the readout process. The exposure-time in the FITS-Header will be the actual elapsed time with shutter open.
With abort, you dismiss the exposure completely.
1. choose "focus" from the Exposure Parameters "Exposure Type" Menu
2. choose the "Focus Parameters" in the Utilities Menu. Enter the desired number of rows and loops into the input fields of the popup-Window that appeared on the screen. Leave this window open. You can see the loops decrementing after every exposure. You can still increase or decrease the number of loops in between every new exposure.
3. enter the desired exposure time
4. press "START" for the first exposure. This is equivalent to a "science" exposure except that there is no readout at the end but a rowshift.
5. When you see the message "Press start for a new exposure" in the System Messages, you can continue with the next Focus-Exposure on the Chip by pressing "START".
6. When "loops" is at 1 (the last exposure), there is a rowshift with the number of rows multiplied by 2 to identify the last exposure from the first one.
7. After the last exposure, the readout starts just like for a normal exposure.
Attention! The number of loops is set to 0 after the last exposure! If you want to make several focus exposures, you have to enter the number of your desired loops again!